Wednesday, July 3, 2019

Wings (QuickBuild)


The QB wings are mostly complete upon arrival.  Fuel tanks are complete, and have been leak tested (although the plans recommend leak testing again for peace of mind).  That leaves running wiring, flight control pushrod installation and rigging, flap/aileron gap fairings and two bottom skins.  There are probably a few things I missed there, but those are the major items.


Fairings in place with vinyl still on to show general positioning.  The QB wings and fuselage are primed at the factory, so I decided to keep that trend going for the final finishing of the wings.  I used rattle can SEM self-etching primer that worked pretty well.  I applied that on both sides of the fairings and along the rivet lines for the bottom skins.  All the flight control pushrods and associated parts are primed in accordance with the plans.


The wiring is pretty straight forward.  Just have to install the snap bushings and run the wires per the plans.  This is also where I started to get nervous about how the standard wiring harnesses will incorporate with the Stein Air or AFS panel options I'm looking into.  I guess we shall see; there's an extra unfilled snap bushing in each wing to run additional wires.  At this point I know for sure that I'll need to install a heated pitot system and that the factory included pitot placement and system will not be sufficient for my full-IFR intentions.


Riveting the bottom skins was one of the most challenging parts of the build so far.  Not so much because it's difficult to understand, just difficult to access and reach.  This is where my oldest son's assistance was crucial.  He's very good with the rivet gun at this point and I had to use my long arms to get in to the tight spaces with the bucking bar.  It took a lot of readjustments along the way and I used a lot of rags/padding to not shred my arms in the process.  I have learned many times so far that aluminum with the slightest bur cuts very efficiently.


Very happy with the final results.


Once the skins are in place, it's time to install the push rods for aileron movement.  I ensured I was spot on with the measurements for pushrod length etc. and I was pleased with the results once I had everything attached to the aileron and wing root.  Flight controls move freely and are rigged within 1/16" of the alignment jigs provided in the kit.

I purchased the LED lighting kits available at Vans.  The only problem I ran into was the connection from the standard wiring harness to the LED kits at the wing tip.  In the end, as others have done, I cut off the factory supplied connector and then attached the one that came with the lighting kit.

Total time spent on the QB wings was about 85 hours.

Quickbuild Delivery Day!


APRIL 22, 2019

I ordered the QB Wings and Fuselage about halfway through the empennage kit based on the progression I was making.  I still ended up having to wait about three months after completion of the tailcone and all empennage fiberglass work.  Total wait time was right at six months from order to delivery.  I elected to use Stewart Transport based on all the reviews I read online from other builders.  I was extremely happy with the results and had no issues at all with Stewart's services.

In preparation for delivery, I built Mouser's Wing Cradle and modified the plans to shorten the total length of the cradle to 8'6" based on the length of the RV-14 wing.  This length worked well to make sure that the landing light area wasn't obscured/covered by the carpeted area of the cradle.

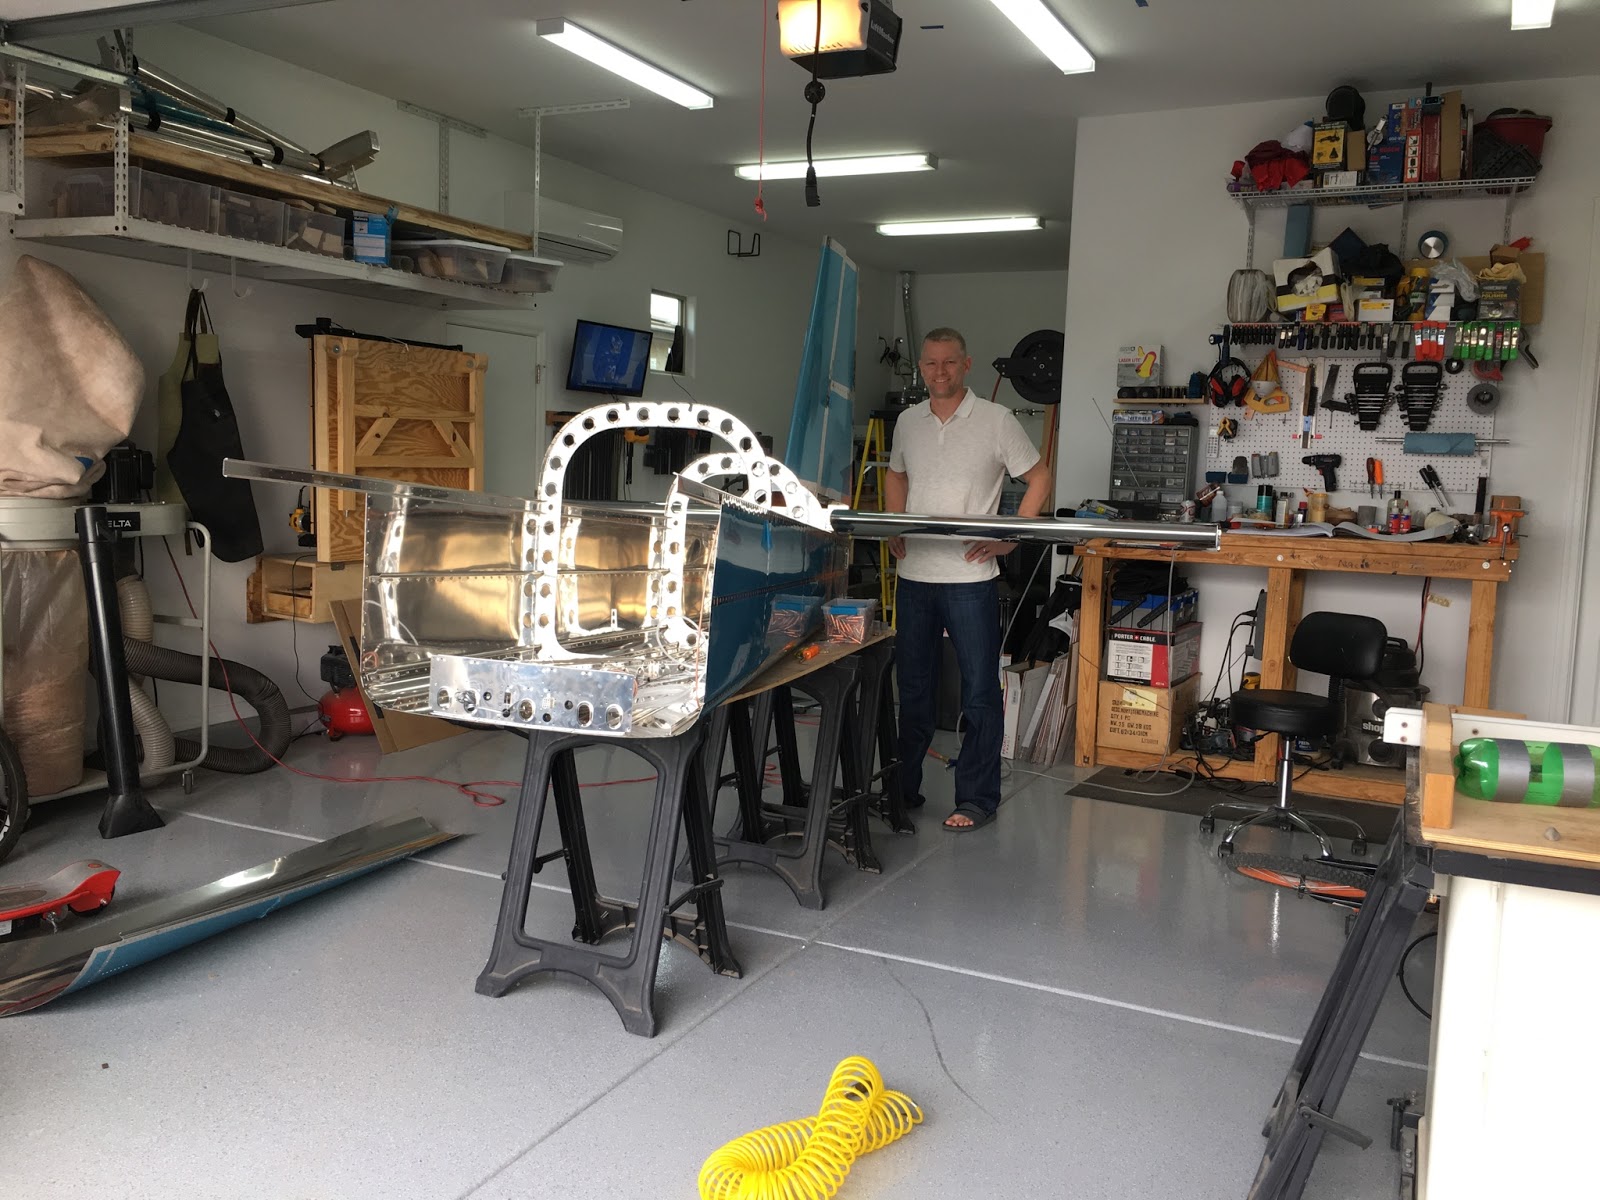
I also built a wheeled cart for the fuselage.  I didn't see any other plans that other folks had used, so I was on my own for this one.  I wanted to minimize the surface area that would be in contact with the fuselage, but still keep enough strength to hold the weight and also be mobile in the garage.  Lots of MDF, screws, wood glue and some casters created what you see in the pictures.


Vans does a good job of using the space effectively to pack a bunch of extra stuff into the fuselage, including the ailerons and flaps.  As usual, there's also a lot of packing material that needs to get removed and recycled.  I was really surprised to see how much of the project is already completed, I think the extra investment was well worth it based on the quality of work that I've seen so far.


That look on my face is half joy and half overwhelmed.  Lots to do!


Monday, July 1, 2019

Tailcone


Flight controls are finished for now, minus the fiberglass, so I'm pressing on with the tailcone.  I'm extremely intimidated by the fiberglass process, so I'll tackle that one later.

The tailcone is a lot of large pieces and came together surprisingly quickly.  Obviously I'm not priming, so that certainly was a huge time savings.  First up is the bulkheads and also the first few divergences in the plans between the tail dragger and tricycle gear.


One of the biggest challenges is finding enough space to get the dimpling done on the larger sections of the tailcone.  Once that's complete, sawhorses and a scrap table worked well for initial mock up of the bottom skin and the bulkheads.


 Reminder, buy extra clecos.  You will need them, as I did during this time of the build.


Some of the rivets in the aft bulkhead area are REALLY tough to reach and rivet cleanly.  At this point in the build I wasn't using any protective tape over the end of the rivet gun.  Although everything is structurally fine, the aesthetics on some of the manufactured heads leaves much to be desired.  There are also a few smilies, but nothing too bad.


I had help during the build, and he was generally pretty excited during the process.  You can see his sign of solidarity at this particular moment.


The plans called for temporary attachment of the vertical stabilizer so that some of the holes can be match drilled.  That also requires the placement of the horizontal stab, resulting in these few pictures.  It's pretty cliche in the builders communities, but "It's really starting to look like an airplane!"


Tailcone completed.  Total time was 63 hours over about a month's time.


Elevators and Trim Tab


I felt like this is where the plans start to get more difficult.  I've definitely built up my skills at this point, but leafing through this section was a little intimidating at first.  Fortunately, nothing that I'm about to do hasn't already been accomplished and documented by hundreds of other builders.  The forums are beyond helpful.


Once the substructure was complete, it was time to dimple both skins.  I got in a rush and didn't have one skin settled on the dimple die properly and went through the skin slightly offset from the factory hole, resulting in a tear.  It was too close to the original placement to warrant a new rivet, but too far offset to drill out for an oops rivet.  In the end, I consulted with Vans and they said a new skin was probably the safest bet.  It was a blessing in disguise, as I have used that skin for scrap on other projects along the way (e.g. fiberglass forms).  


Once I had the replacement skin, I continued with mock up, disassembly and deburring.  I used blue painters tape to protect the parts inside the skin that wouldn't be in contact with the fuel tank sealant used to secure the foam ribs.


Once both sides of the skin are sandwiched together, the plans call for pop rivets toward the trailing edge to keep the ribs together.  This was a real pain, figuratively and literally.  There's very little room to work and using the pop riveter was tough on the hands/wrists.


Once the foam ribs are in place and secured with fuel tank sealant, both sides need to be clamped together.  I found that clecoes, spare lumber and woodworking clamps worked well for both trailing edges as well as the trim tab.

Once I was ready to rivet the trailing edge, the dimple die set pictured below was a huge win.  It's angled perfectly for the RV-14 trailing edge angles and made that part of the process a breeze with near perfect results.


Rolling the leading edges was identical to the rudder rolling.  However, I found out later that once the elevators were attached to the Horizontal Stab that the rolled edge was rubbing against the rear spar of the HS.  I found that a perfectly rounded edge wouldn't work.  I had to remove the elevators and flatten the area closest to the pop rivets on the rolled edge.  It took quite a few assemblies to get this right where I felt like I had flight control travel called for in the plans.


I attached packing tape or duct tape to different size dowels/pipe to get the desired curvature along the leading edges of the elevators as well as the rudder.  I then used downward pressure (toward the table) and rolled the edge toward the trailing edge with one hand on each vice grip.  Once I ran out of space to rotate the edge, I then released and reattached the vice grips to give me more authority to roll the edge.  Seemed to work fine until I determined that the rolled edge that allowed me to cleco and rivet top and bottom together still wasn't quite right to provide clearance from the HS.


Total time invested in the elevators and trim tab came out to about 48 hours.